


Adobe Photoshop
Original price was: ₹21,081.₹11,678Current price is: ₹11,678. Inclusive of all taxes
What is Adobe Photoshop?
Adobe Photoshop, a flagship product of Adobe Inc., is a powerful and versatile graphic editing software widely used by professionals and enthusiasts alike. Launched in 1988, it revolutionized digital imaging with its extensive array of tools and features. Photoshop enables users to manipulate, enhance, and create stunning images through layers, filters, and advanced editing capabilities. With a user-friendly interface and constant updates, it remains an industry standard for graphic design, photography, and digital artistry.
What Vikrant Academy® offers with Live Classes?
We offer 45 hours Adobe Photoshop course which include full lessons with real time learning project that will increase your work productivity by 10X.
Course Duration: 90 Days
No. of Hours: 45
Product Description
- Installing the program
- Free Font Download
- Free Learning Project
- Starting to work in Adobe Photoshop
- Using the tools
- Sampling a color
- Working with tools and tool properties
- Undoing actions in Photoshop
- More about panels and panel locations
- Strategy for retouching
- Resolution and image size
- Opening a file with Adobe Bridge
- Straightening and cropping the image in Photoshop
- Adjusting the color and tone
- Using the Spot Healing Brush tool
- Applying a content-aware patch
- Repairing areas with the Clone Stamp tool
- Sharpening the image
- About selecting and selection tools
- Getting started
- Using Cloud Documents
- Using the Magic Wand tool
- Using the Quick Selection tool
- Moving a selected area
- Using the Object Selection tool
- Manipulating selections
- Selecting with the lasso tools
- Rotating a selection
- Selecting with the Magnetic Lasso tool
- Selecting from a center point
- Resizing and copying a selection
- Cropping an image
- About layers
- Getting started
- Using the Layers panel
- Rearranging layers
- Applying a gradient to a layer
- Applying a layer style
- Adding an adjustment layer
- Updating layer effects
- Adding a border
- Flattening and saving files
- Getting started
- Improving a snapshot
- Adjusting facial features with Liquify
- Blurring a background
- Creating a panorama
- Filling empty areas when cropping
- Correcting image distortion
- Extending depth of field
- Removing objects using Content-Aware Fill
- Adjusting perspective in an image
- Working with masks and channels
- Getting started
- Using Select and Mask and Select Subject
- Creating a quick mask
- Manipulating an image with Puppet Warp
- Using an alpha channel to create a shadow
- About type
- Getting started
- Creating a clipping mask from type
- Creating type on a path
- Warping point type
- Designing paragraphs of type
- Adding a rounded rectangle
- Adding vertical text
- About bitmap images and vector graphics
- About paths and the Pen tool
- Getting started
- Drawing a shape with the Pen tool
- Drawing a path traced from a photo
- Converting a path to a selection and a layer mask
- Creating a logo with text and a custom shape
- Getting started
- Arranging layers
- Using Smart Filters
- Painting a layer
- Adding a background
- Using the History panel to undo edits
- Upscaling a low-resolution image
- About the Mixer Brush
- Getting started
- Selecting brush settings
- Mixing colors
- Mixing colors with a photograph
- Painting and mixing colors with brush presets
- Getting started
- About the Timeline panel
- Creating a new video project
- Animating text with keyframes
- Creating effects
- Adding transitions
- Adding audio
- Muting unwanted audio
- Rendering video
- Getting started
- About camera raw files
- Processing files in Camera Raw
- Applying advanced color correction
- Getting started
- Creating placeholders with the Frame tool
- Using layer groups to create button graphics
- Automating a multistep task
- Designing with artboards
- Preparing files for printing
- Getting started
- Performing a “zoom test”
- About color management
- Specifying color-management settings
- Identifying out-of-gamut colors
- Proofing document colors on a monitor
- Bringing colors into the output gamut
- Converting an image to CMYK
- Saving the image as a CMYK EPS file
- Printing a CMYK image from Photoshop
- Getting started
- Understanding the 3D environment
- Positioning 3D elements
- Printing a 3D file
Only logged in customers who have purchased this product may leave a review.
Related products
-
Sale!

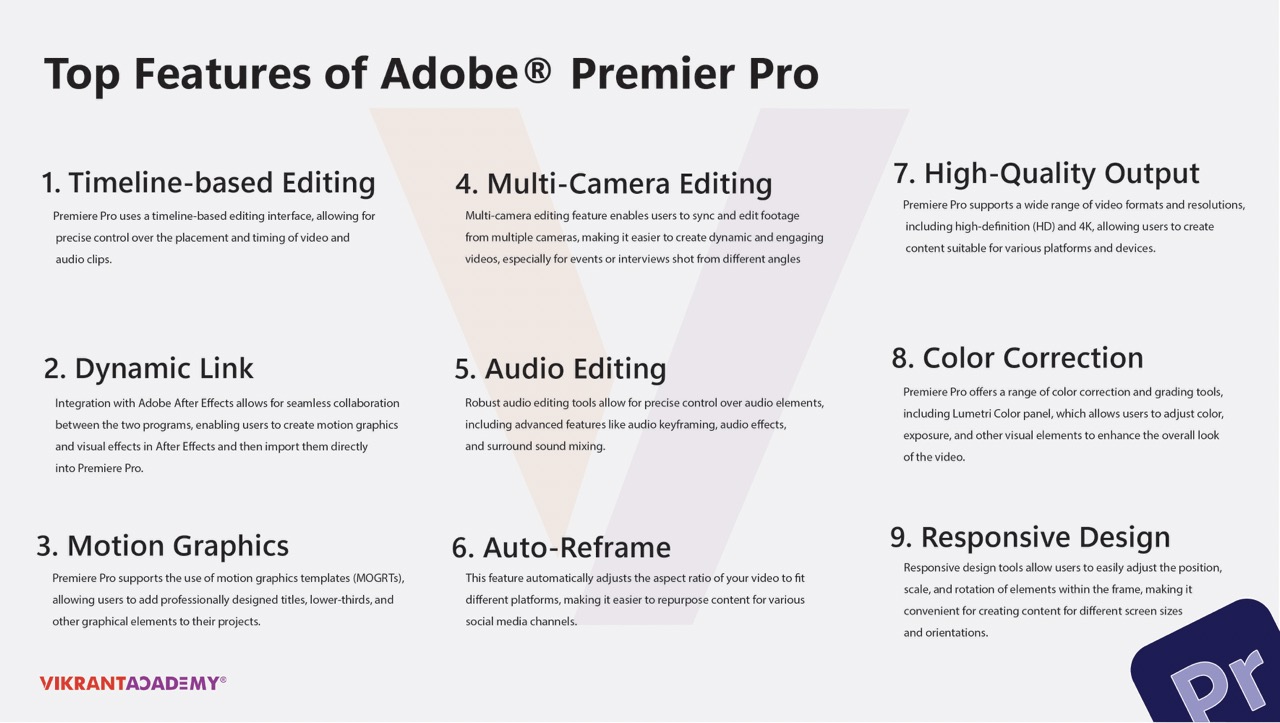
Adobe Premier Pro
Adobe Premier Pro, EditingOriginal price was: ₹28,108.₹11,324Current price is: ₹11,324. Inclusive of all taxes Add to cart -
Sale!

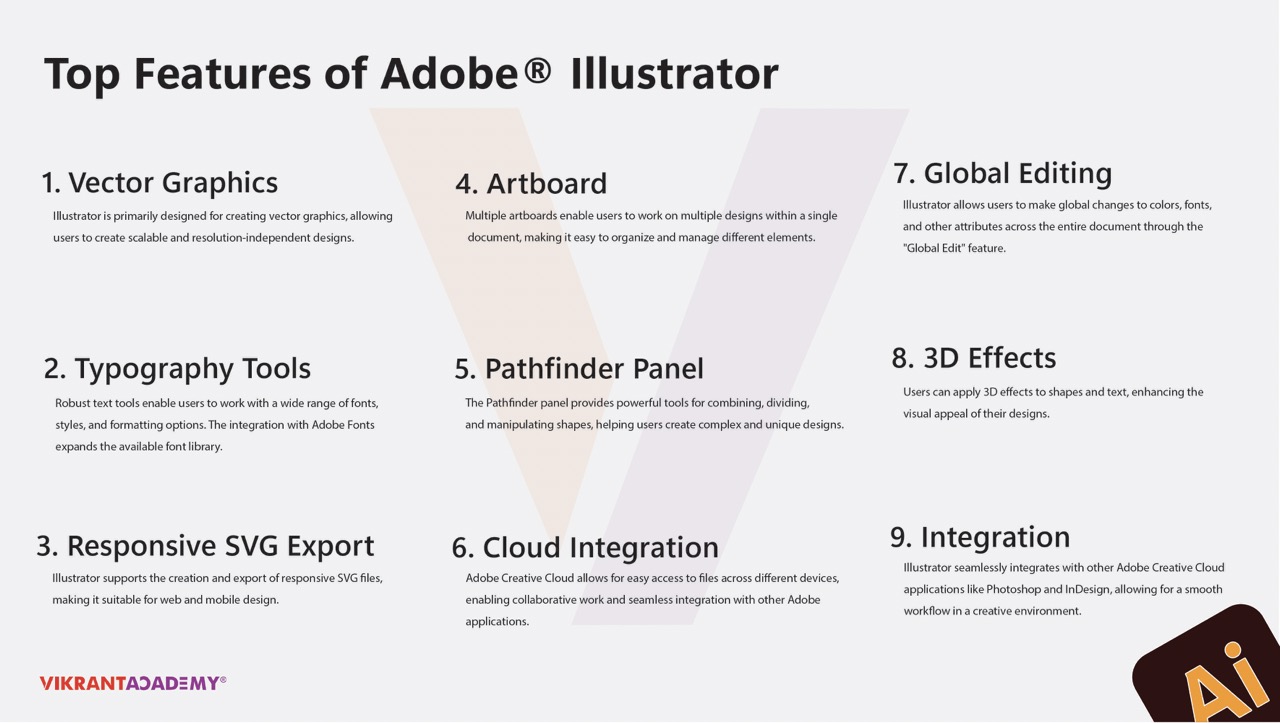
Adobe Illustrator
Adobe Illustrator, DesignOriginal price was: ₹21,081.₹11,796Current price is: ₹11,796. Inclusive of all taxes Add to cart -
Sale!

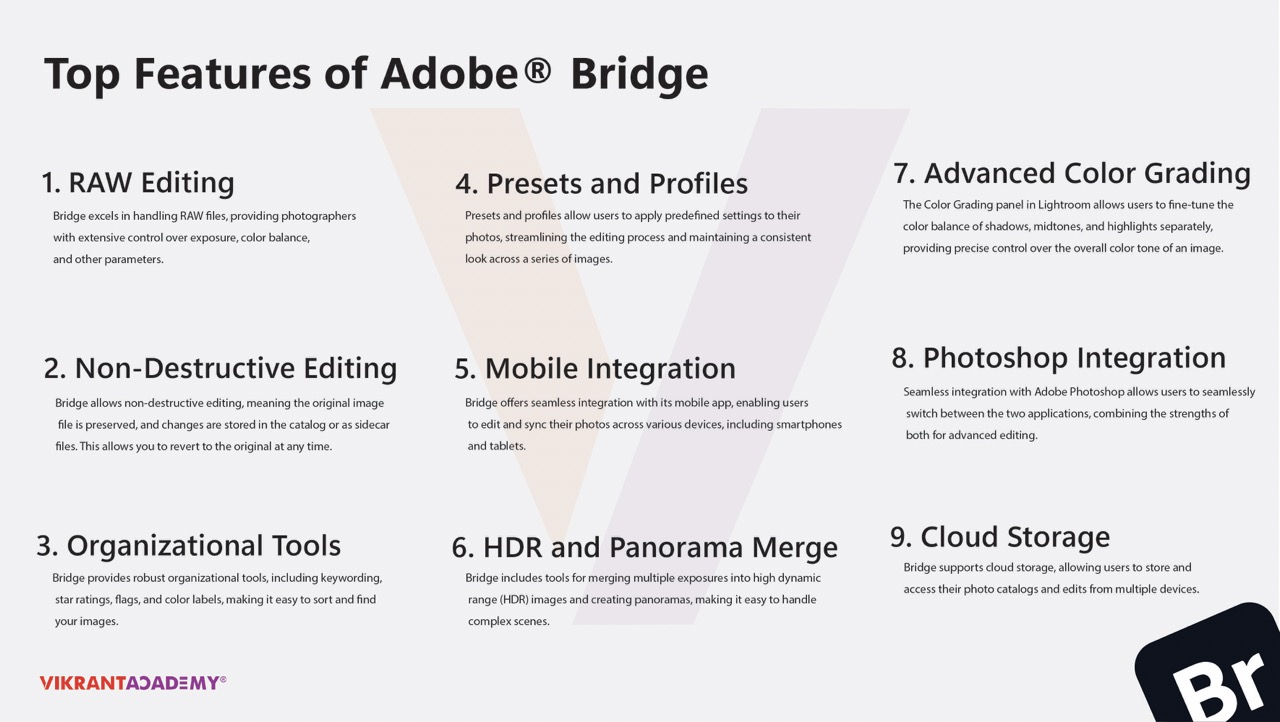
Adobe Bridge
Adobe Bridge, EditingOriginal price was: ₹21,081.₹11,678Current price is: ₹11,678. Inclusive of all taxes Add to cart -
Sale!

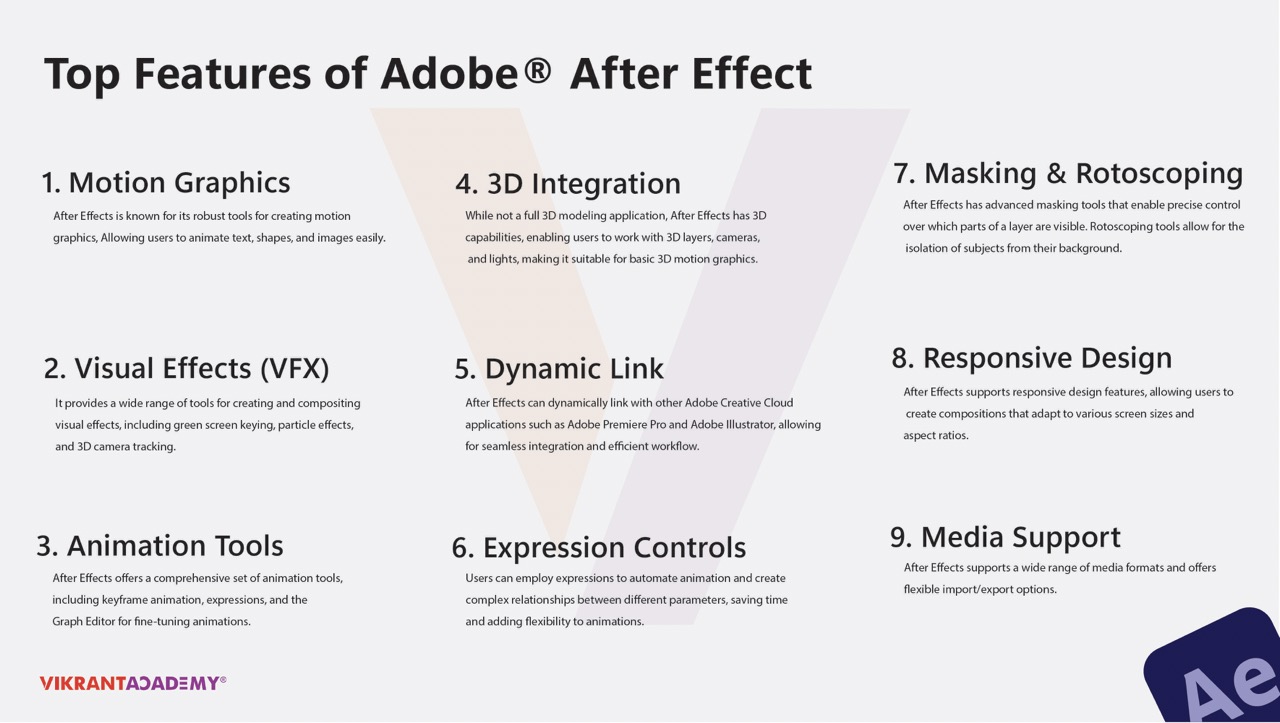
Adobe AfterEffect
Adobe After Effect, EditingOriginal price was: ₹21,081.₹11,678Current price is: ₹11,678. Inclusive of all taxes Add to cart

Reviews
There are no reviews yet.